

RECENT POSTS
29.August.2026
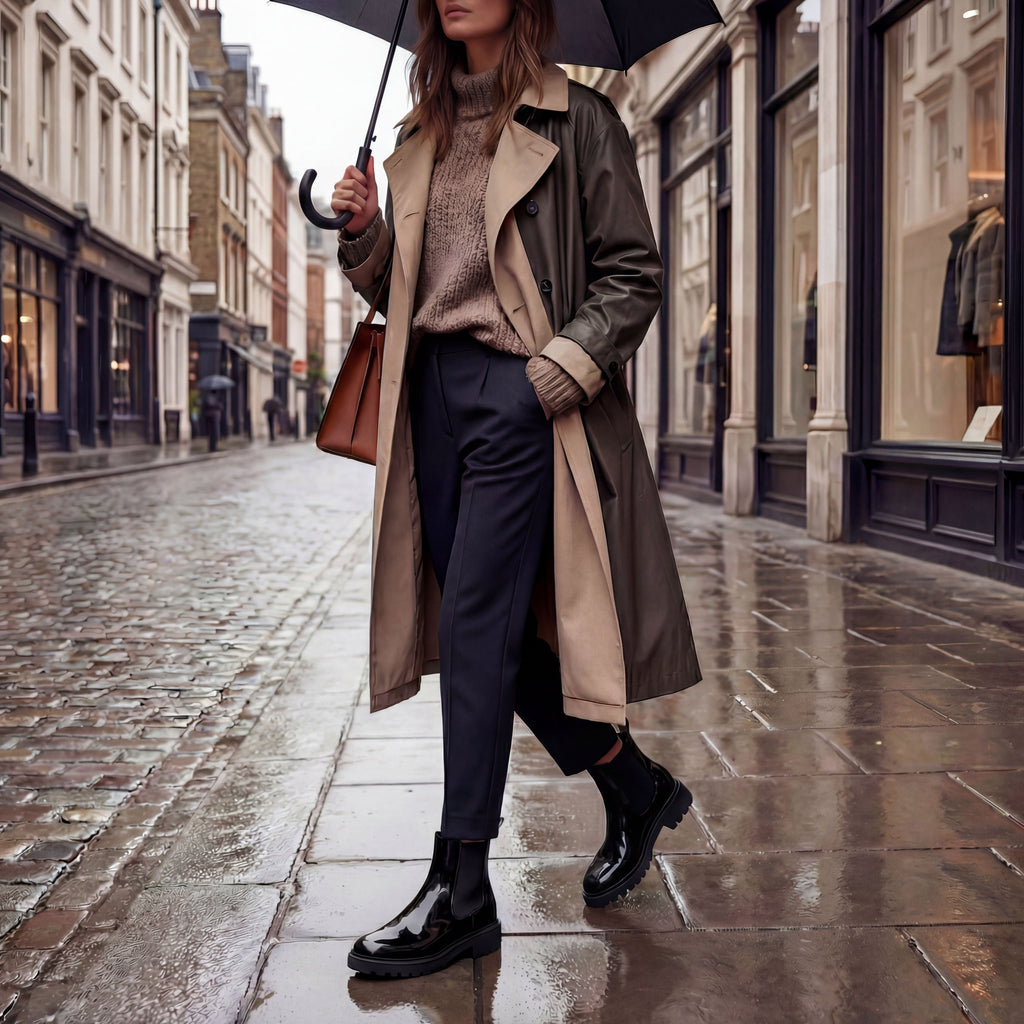
Custom Women's Boots for Fall: Choosing Between Two Black Chelsea Silhouettes
0 Comments



Comfortable Shoes for Walking in Europe: How to Choose
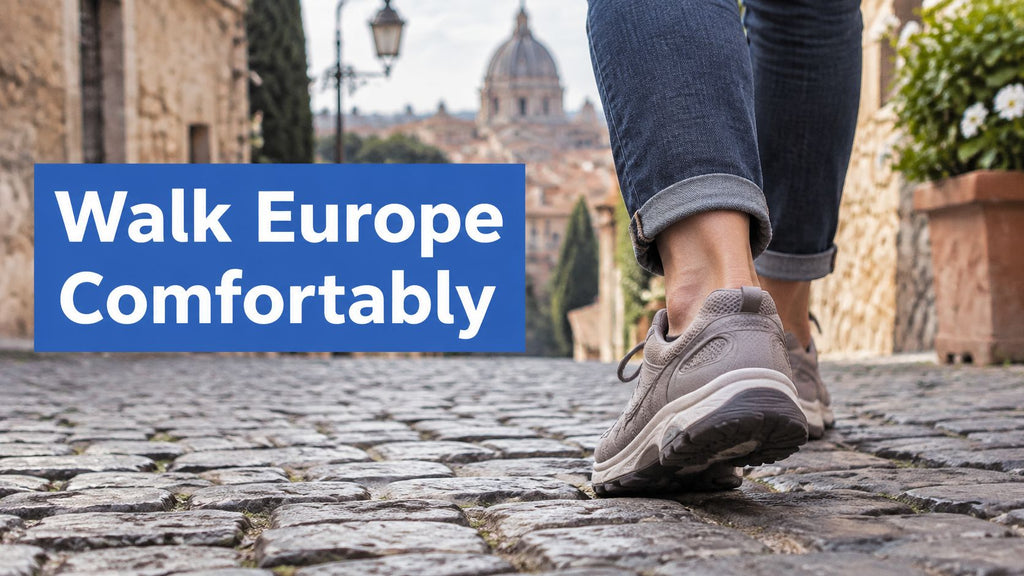
Europe has 12 officially recognized E-paths running north to south and east to west, with a combined length exceeding 70,000 kilometres, according to a study of European long-distance walking routes. Walking is woven into travel across the continent, from long-distance trails to full days exploring city streets.
The demand is visible in holiday and pilgrimage figures. In Germany, approximately 17 million people took a walking holiday in 2019, per the Centre for the Promotion of Imports from developing countries. The same source reports that Spain's Camino de Santiago rose from about 55,000 pilgrims in 2000 to 300,000 in 2017, and Italy's Via Francigena drew roughly 50,000 participants in 2018 after a 20% jump that year. Europe also took about 22.1% of global sports-shoe revenue in 2025, according to Dataintelo's sports shoe market report. Those figures describe a broad market; they do not tell you which shoe will suit your itinerary.
Start with width, then match the shoe to the surfaces you expect to cover. A roomy forefoot cannot compensate for a sole that feels unstable on wet stone, and cushioning alone will not make a poor fit comfortable. Choose for your feet and route first; style comes after.
Comfort Checklist Every European Walking Shoe Needs
A pair can look right, feel soft under the thumb and still fail four hours into a city day. The difference is rarely price. It comes down to seven checks, and every one of them can be run before you pay.
Practical rule: Reject any pair that fails two or more checks below. Two failures rarely cancel each other out. They compound, usually at the heel first and then at the ball of the foot.
Comfort isn't a single property you can judge in ten seconds on a shop carpet. It's the joint result of how the shoe holds the heel, where it flexes, how much cushioning sits under load, and how much the foot can breathe. Work the rows in order, because heel hold decides whether the rest of the shoe gets the chance to do its job.
| Check | What to look for | Why it matters | Quick test |
|---|---|---|---|
| Heel hold | Heel stays in place without tight lacing | Heel slip causes blisters on long days | Walk up and down a slope in the shop |
| Forefoot width | Toes spread without pressing on the sides | Pinched forefoot causes numbness and pain | Press a thumb between toes at the widest point |
| Cushioning and heel platform | Moderate cushioning with a firm heel base | Excess softness reduces stability | Walk 20 to 30 minutes on a hard floor |
| Flex point | Shoe bends where the toes bend, not mid-foot | Stiff soles tire the calves | Bend the sole by hand |
| Outsole grip | Lugged rubber suited to wet stone and tram rails | Smooth soles slip on cobbles and marble | Check tread depth and the sole edge |
| Upper material | Breathable leather or sealed mesh | Trapped heat and sweat cause friction | Feel the lining for rough seams |
| Weight | Light enough for a full day of walking | Extra weight adds load on every kilometre | Compare against a pair you already know |
Start with the heel. A shoe that lets the heel rise forces you to crank the laces, which then presses across the instep and drives the toes forward into the front of the shoe. One fault produces two problems: a blister at the back and numbness at the front, on the same afternoon.
Forefoot width is the check people skip, because length feels fine in the shop. Toes need room to spread on landing. If they can't, every kilometre is a squeeze, and the pain shows up in the evening rather than at the fitting.
Cushioning, flex and weight pull against each other. A very soft midsole feels wonderful on carpet and turns vague on uneven stone, while a heavy rigid sole protects the foot and tires the leg. Take this list into any shop or bespoke fitting and run all seven rows. If you're commissioning a pair, these are the same seven variables to specify: last width, heel counter height, midsole density, flex point, outsole compound, lining and target weight. That's what comfortable shoes for walking in Europe are made of, before styling enters the conversation.
Match Your Shoes to Cobbles, Stairs and Wet Stone
A European city isn't one surface. A single day in Florence moves from polished marble in a church, to a slick canal bridge, to a steep stone lane, to a museum floor with a crowd shuffling across it. Each of those asks something different of the sole.
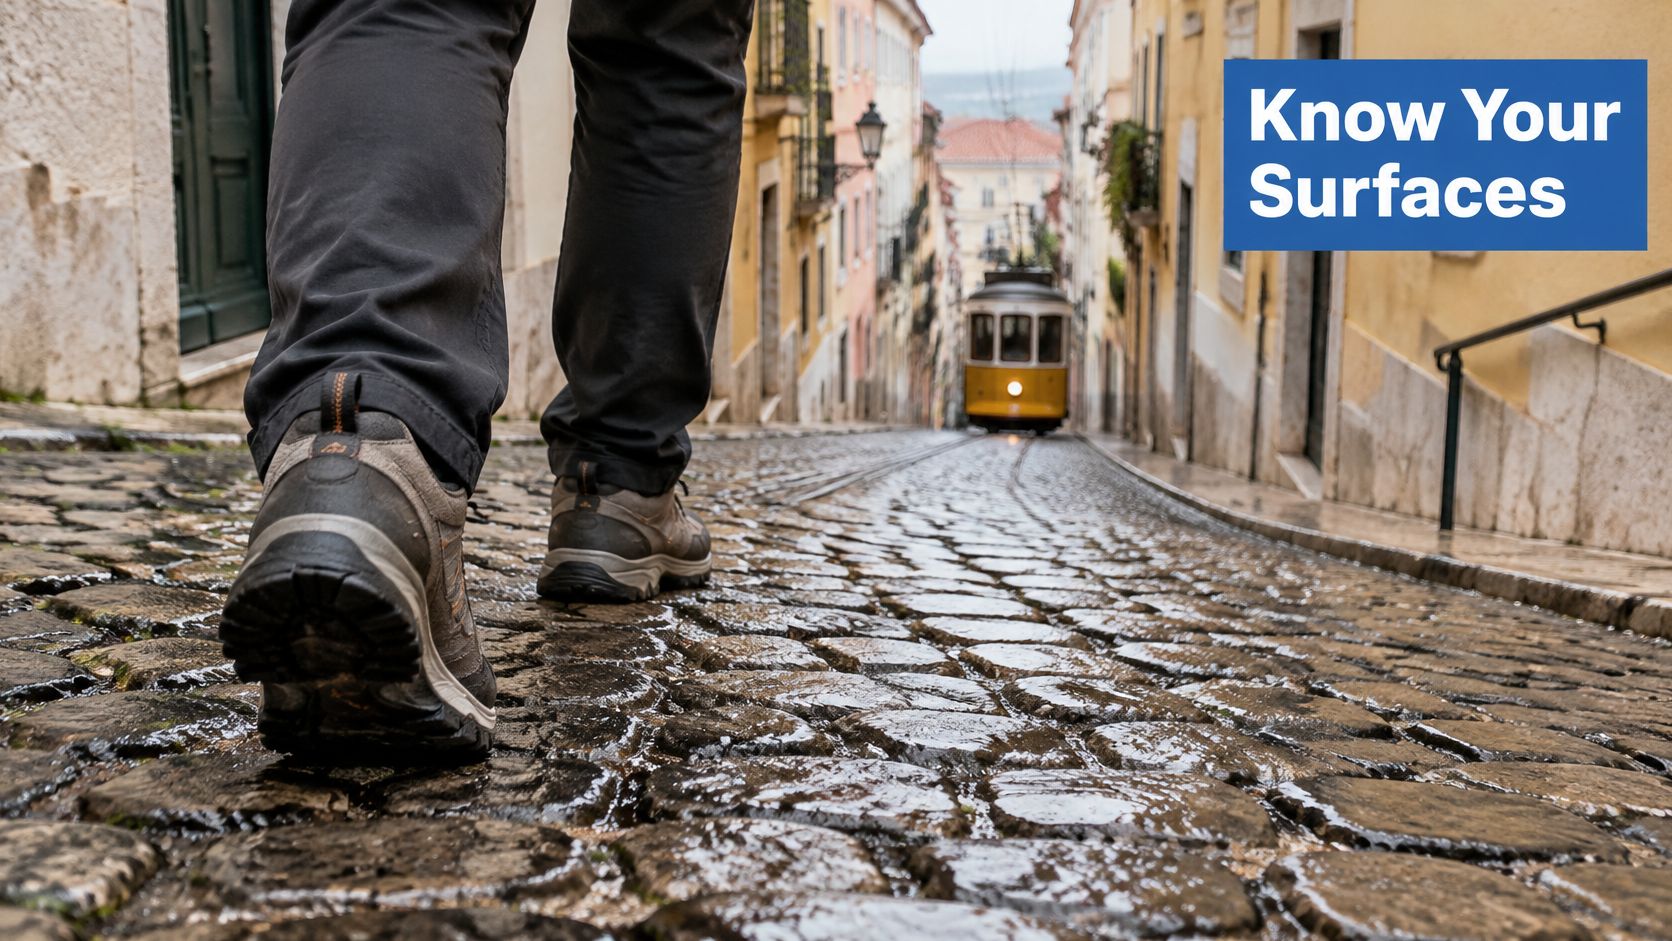
A review of walking-shoe guidance for European travel treats cobblestones, marble, hills, canal bridges, museum floors, stairs and wet stone as distinct demands rather than one generic walking condition: uneven stone raises ankle-instability concerns, stairs load the Achilles and the knee-to-ankle chain, and wet stone makes outsole grip critical, as this breakdown of shoes for walking in Europe sets out. Generic advice about cushioning and arch support flattens all of that into one recommendation, which is how travelers end up with a shoe that's excellent on flat pavement and treacherous on a wet step.
The question that follows is whether you need a different shoe for every city. You don't. One properly chosen walker is the default for most itineraries. A second pair earns its space when the trip is dominated by one condition: a hill town, a week of rain, or serious distance on rough ground.
| Surface or route | Key requirement | Look for | Avoid |
|---|---|---|---|
| Cobblestones and historic streets | Secure heel and stable midsole | Firm heel counter, moderate cushion | Very soft, tall unstable stacks |
| Marble, tile and museum floors | Cushioning under the ball of the foot | Padded insole, flexible forefoot | Smooth, slick soles |
| Hills and steep streets | Heel hold and grip | Lacing that locks the heel, lugged outsole | Loose slip-on styles |
| Wet stone and canal bridges | Outsole grip | Deeper tread, grippy rubber compound | Smooth leather soles |
| Stairs and towers | Ankle and knee stability | Low-to-moderate heel drop, good grip | Very high heel stacks |
| Long flat city walks | Breathability and flex | Light weight, breathable upper | Heavy, stiff boots |
| Hot summer routes | Ventilation | Open-weave uppers, moisture-wicking lining | Thick linings that trap heat |
The trade-off that decides most trips is cushioning against stability. A very tall, very soft stack dulls the feedback your feet use to balance on irregular stone, and on a cobbled descent that's a rolled ankle waiting for a wet afternoon. Moderate cushioning over a firm heel platform and a broad contact area wins on historic streets, even though it feels less plush in the first minute.
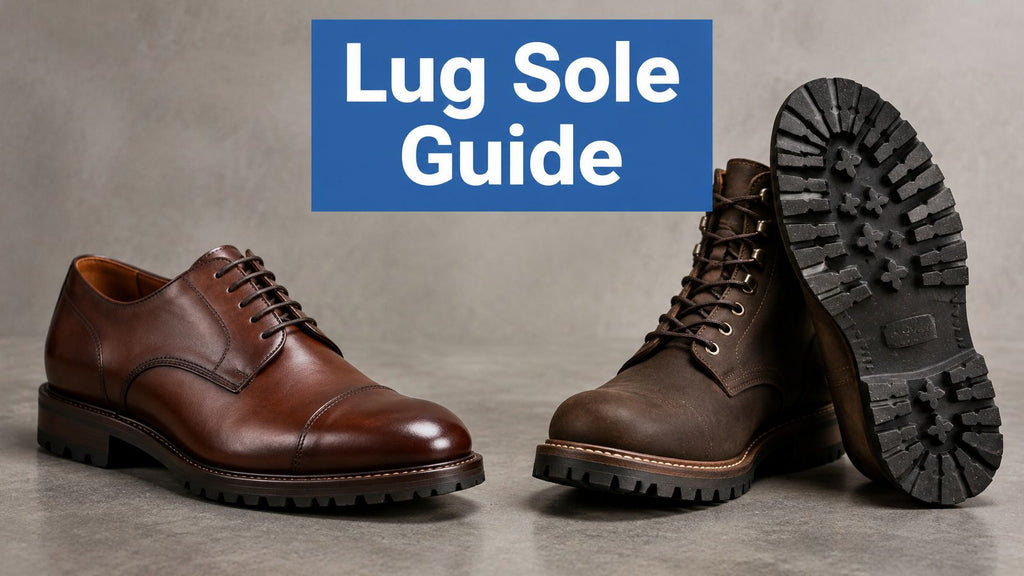
Tread deserves more attention than it gets. The rubber compound and lug pattern do more for wet-stone and tram-rail safety than any midsole feature, which is why how lug soles grip wet ground matters as much as cushioning when you compare two pairs side by side.
Long days on stone also leave the feet and calves aching after the walking stops. If your itinerary mixes sightseeing with queues and standing in galleries, these standing-all-day tips from Thermo Recovery Wear cover the recovery side that shoe choice can't fix.
Pick your default shoe from the two or three rows that describe the bulk of your route, not the most dramatic one. A trip that's 80% flat city walking and one hill town needs a flexible, breathable walker with decent grip, not a stiff mountain shoe bought for a single afternoon.
Fit Your Feet and Width Before You Buy
A shoe can match your itinerary and still fail if the width is wrong. Poor fit is a common reason footwear is returned, so check both length and width before choosing a style.
Measure both feet at the end of the day
Feet can swell over the course of a day. Measure both feet when they feel largest, using the socks you expect to wear on your trip.
- Trace each foot on paper: Stand with your full weight on the foot, heel against a wall, and mark the longest toe.
- Mark the ball of the foot: Measure across its widest point. Length alone will not show whether the shoe last has enough room.
- Use your travel socks: Thick socks affect the fit, while thin socks can conceal pressure that becomes uncomfortable during a long day.
Read the width ladder, not just the size on the box
Widths commonly use labels such as D, E, EE and EEE. Each label corresponds to a different fit around the foot, but sizing can vary between brands. Compare your measurements with the brand's own guidance, and use this shoe width sizing guide to understand the width labels.
During a fitting, check three points: your heel stays in place without tight lacing, your toes can move without pressure at the sides, and the ball of your foot sits at the shoe's widest point. If one check fails, try a different width or last rather than relying on the size printed on the box. Alexander Noel offers shoes in a range of sizes and widths, including EEE.
For a walking-heavy European itinerary, make this fit check before weighing style or surface-specific features. A shoe that presses across the ball of the foot is a poor choice for hours on cobbles, stairs or station platforms, even if its sole suits the route.
Custom and Bespoke Shoes When Standard Sizes Fail
A shoe that pinches across the forefoot or leaves a heel loose can turn a full day of city walking into a poor fit test. Bespoke footwear is an option when standard sizes and widths cannot accommodate your foot comfortably, though it requires more lead time than buying ready-to-ship shoes.
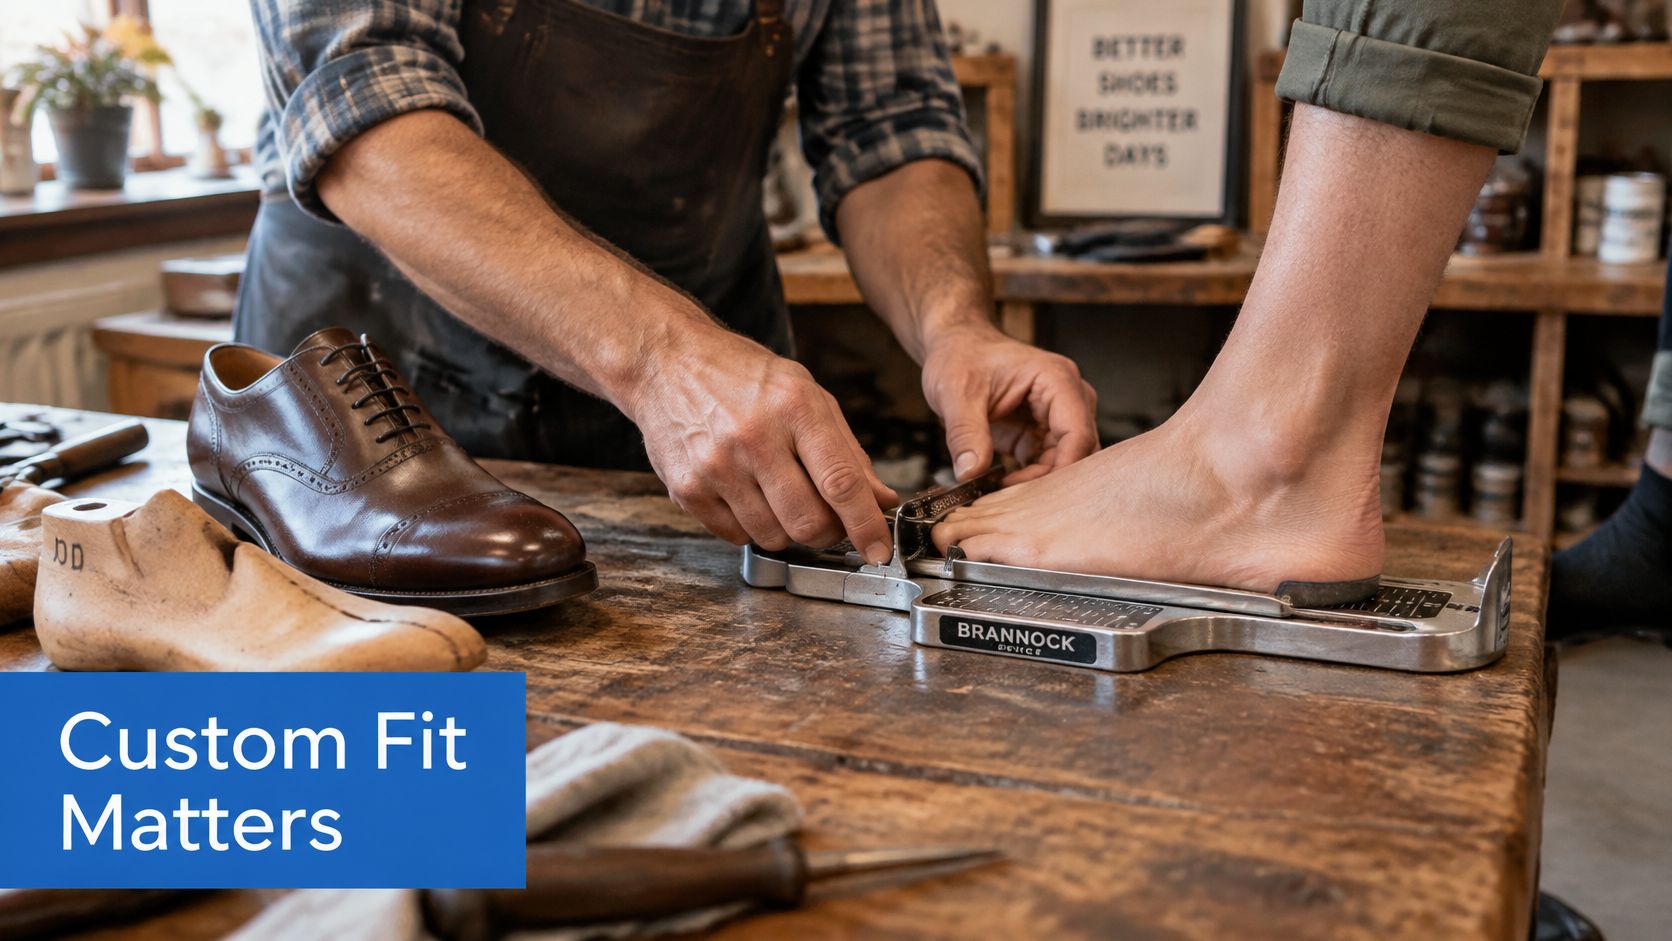
Made-to-order pricing can avoid some of the retail layers involved in traditional distribution, but the final cost depends on the shoe and how it is made. Compare the price and fit options with ready-to-ship shoes, and allow time for production and wear before your trip.
Where custom changes the outcome
Bespoke footwear is worth considering when standard options leave a specific fit problem unresolved:
- A width that shops don't stock: Alexander Noel offers shoes in a range of sizes and widths, including EEE. A wider option may help when a standard-width shoe presses across the forefoot.
- Pressure in a particular area: A persistent hotspot under the first metatarsal or near a bunion may need a different fit than sizing up.
- A foot shape that standard options don't suit: A high instep or a narrow heel paired with a wider forefoot can make it difficult to find a comfortable standard shoe.
Alexander Noel customers can browse the collections or design their own bespoke shoes in a computer visual. The men's and women's Design Labs let customers create their own designs and choose a width, including EEE. Explore the men's bespoke shoe options to see how the design process works.
Alexander Noel footwear may be ready-to-ship, artisan-created, or made-to-order. Check the product details before ordering, and review size, width, color, and design carefully at checkout, especially for artisan-created or made-to-order footwear.
Bespoke shoes suit a trip with enough lead time for the order to be made and worn before departure. If you leave soon and standard shoes fit, buying a ready-to-ship pair gives you more time to wear it before relying on it for long walking days.
How to Break In Shoes and Test Them Before You Fly
A break-in period isn't a ritual you perform out of respect for leather. It's a test schedule, and its job is to surface problems while you can still return the shoe, swap the sock or change the lacing.
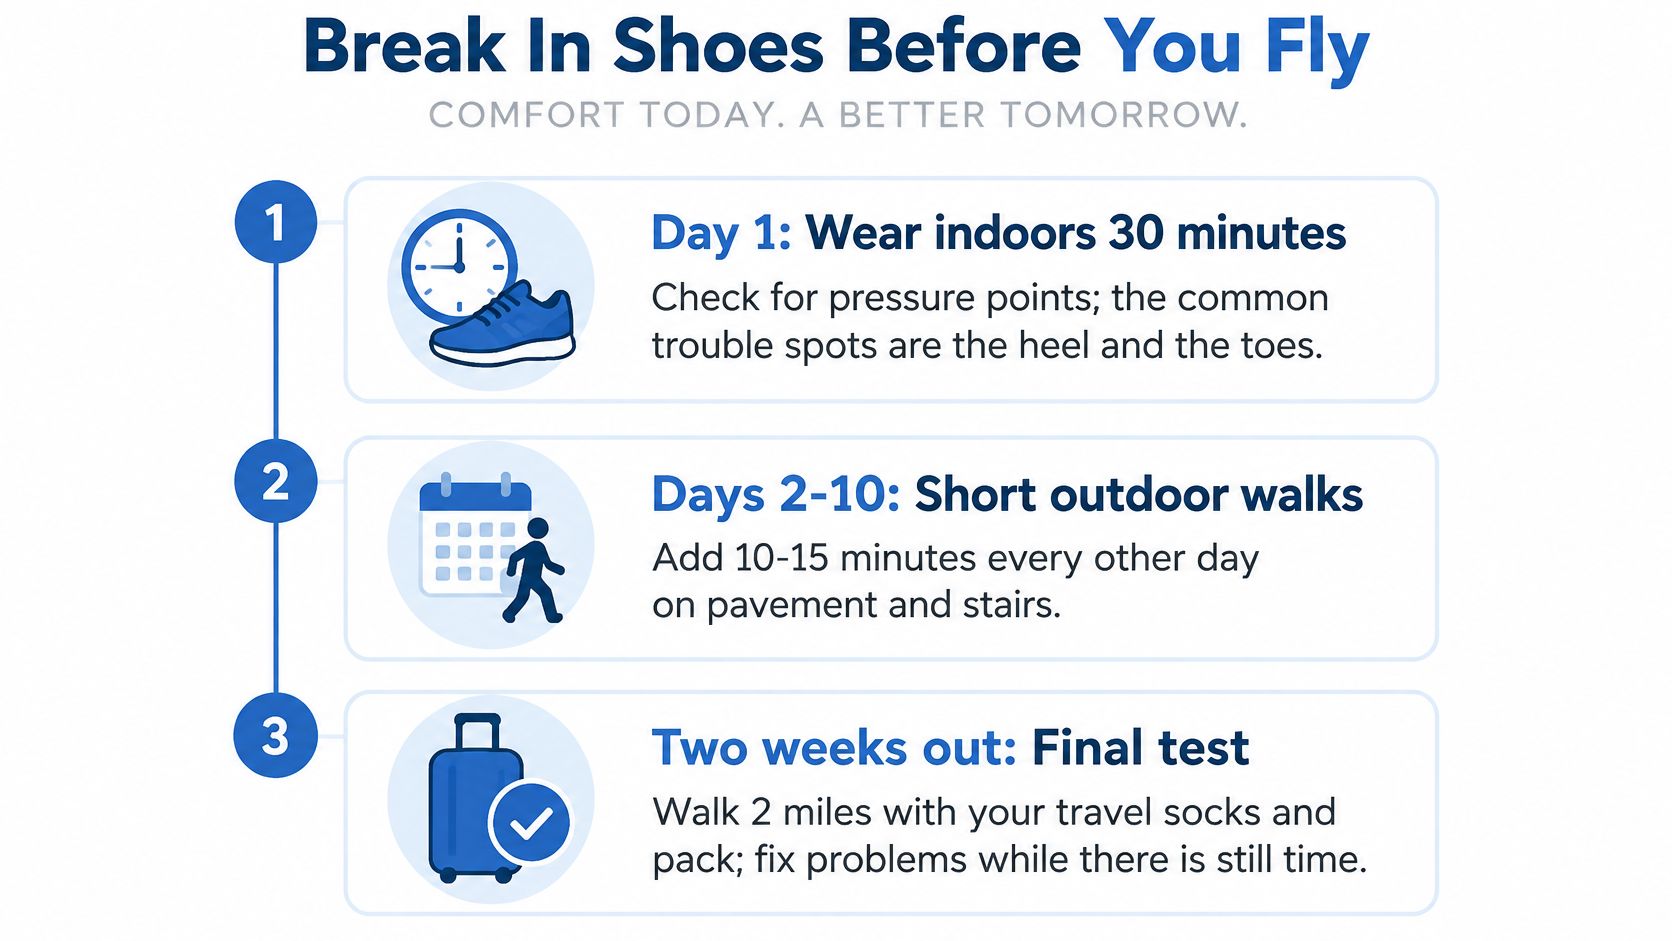
Start three weeks out and finish two weeks before departure. That leaves time to fix what the schedule finds.
- Wear the new pair indoors for 30 minutes on day one. Check for pressure points at the heel and toes. The common mistake is skipping this and going straight to a long walk, which turns a small rub into an open blister.
- Walk 2 to 3 km on day three in the socks you'll travel in. Thin test socks hide problems that thicker travel socks expose, and the reverse is just as true.
- Add distance every few days until you reach 10 km. Gradual loading lets you tell the difference between a shoe that needs softening and a shoe that's the wrong shape.
- Walk 20 to 30 minutes on pavement or a hard floor. Pressure hotspots and heel movement often emerge only after continuous loading, which is why short hops around the house tell you almost nothing.
- Note hotspots, heel slip and numbness before you change anything. Greater heel eversion in a stiffer, harder-soled shoe was associated with lower comfort in the systematic review of footwear comfort research published in the Journal of Foot and Ankle Research, so persistent heel slip is a verdict on the shoe, not an invitation to lace harder.
- Test insoles only after the shoe has been tested alone. The same review found no consistent comfort improvement from adding a flat cushioning insole to walking shoes, so changing the footbed before you know what's causing the problem tends to mask it.
- Finish with a full-day walk on mixed surfaces about two weeks out. Include stairs, a slope and wet ground if you can find it, then pack a blister kit regardless of how well it went.
Don't use very thin, minimal shoes as a break-in shortcut. A move toward minimal footwear isn't something to start before a long trip, when your feet have no time to adapt. If you'd rather follow the sequence in a single walkthrough, this guide to how to break in new shoes covers the same progression from indoor wear to the final long walk.
Socks and Insoles for Long Days on Foot
Socks are part of the fit. A shoe tested in thin cotton socks and worn with thick wool socks abroad is a different shoe, usually a tighter one, which is why the break-in schedule should use the exact socks you'll pack.
Choosing the sock
- Pick a medium-thickness wool or synthetic blend: both move moisture away from the skin, which keeps friction low.
- Skip cotton for walking days: it holds sweat, softens the skin and raises the chance of a friction blister.
- Watch the cuff and the seams: a thick cuff presses on the Achilles, and a seam sitting over the toes will find you at kilometre eight.
- Pack a second pair for rotation: one pair drying while the other walks is the simplest comfort upgrade on a two-week trip.
When an insole earns its place
Start with the footbed the shoe came with. Add a replacement only when a specific problem appears, such as heel slip that lacing won't fix or arch fatigue after a long day. An insole is a targeted fix, not a default upgrade, and stacking foam into a shoe you already tested changes the fit you spent time verifying.
If you do add one, match the arch height and heel shape to your foot, then check that it doesn't lift the heel so far that hold is lost at the back. Replace any insole that has visibly flattened rather than wearing it through the trip. On the road, cover a hotspot with tape or a blister pad the moment you feel it. Waiting for the blister to form means walking the rest of the day on damaged skin.
Packing, Rotating and Caring for Your Walking Shoes
Rotation is the cheapest comfort tool on a long trip. Midsoles and linings recover when a pair rests for a day, so two pairs worn alternately feel better at the end of a fortnight than one pair worn every day, even if that one pair cost twice as much.
| Trip type | Pairs to pack | Shoe choice | Care note |
|---|---|---|---|
| City break, 3 to 4 days | 1 walker plus sandals | Cushioned walker already worn in | Air-dry overnight and rotate if worn daily |
| Two-week rail tour | 2 pairs | Main walker plus a rotation pair | Rotate daily so foam and lining recover |
| Multi-day route, 30 km or more per day | 2 pairs | Trail-capable walker plus a lighter pair | Replace insoles once they flatten |
| Rainy spring or autumn | 2 pairs | Water-resistant leather or sealed mesh | Stuff leather with paper and air dry |
| Hot summer | 1 walker plus a breathable pair | Open-weave mesh | Wash liners by hand and avoid heat dryers |
Daily care that keeps a pair alive
Let shoes air-dry for about 24 hours between wears. Stuff damp leather with newspaper and leave it away from radiators, because direct heat hardens the leather and softens the glue that holds the sole. Wash removable liners by hand with a little mild soap, rinse them properly, and dry them away from the sun.
Heat dryers are the thing to avoid. They warp the upper, shrink the lining and break down the adhesive, and a pair that comes home misshapen usually went through one. If your trip is in Spain and involves moving between climates, this packing advice for private Spain journeys from Northern Spain Travel is a useful cross-check on what else earns luggage space.
A flattened insole is a signal to replace it rather than walk it flat for another week. Carry the walking pair on the plane or train rather than burying it in a checked bag, and keep the second pair light. Every gram on your feet is multiplied by every kilometre of the trip.
Confirm Your Fit Before You Book Your Trip
The final pass is a sequence, and it takes about ten minutes. Work through it before you order anything.
First, confirm the shoe passed the comfort checklist and the surface test for the route that dominates your itinerary, not the most photogenic one. Second, confirm it completed the full-day walk roughly two weeks before departure, with the travel socks and the insole you intend to wear. If either answer is no, you're still choosing, not confirming.
Then settle width. If standard stock failed the width test, look at made-to-order options before you settle for a size up, since extra length doesn't fix a narrow forefoot. Shoes come in a range of sizes and widths including EEE, so a foot that has never fitted standard stock isn't a dead end.
Match the purchase type to the date on your ticket. Footwear may be ready-to-ship, artisan-created or made-to-order, and the made-to-order route needs production time before shipping. For artisan-created or made-to-order pairs, review size, width, colour and design details carefully before completing checkout, because those orders aren't simple returns.
One practical note for a multi-country itinerary: connectivity is the other thing that decides how smoothly the days run, so browse European eSIM options before you fly rather than paying roaming rates at the first border.
Write three things on one line: your trip dates, the surfaces the route contains, and the width your feet measured in the evening. Then buy the shoe type that can arrive and be broken in before the first of those dates. That's the whole decision, and it beats any list of brand names.
Alexander Noel makes bespoke footwear to your own measurements, with the width, last and materials specified before a pair is built in our Design Lab. If standard sizes have never quite worked for your feet, that's the honest place to start. Visit Alexander Noel to design a pair you can walk in all day, and to check the sizes and widths available before your next trip.
Related post
14
Nov
14
Nov
07
Nov
24
Oct
04
Oct
